Professional Starlink Installation: Why DIY Isn't Worth It
You Got Your Starlink Kit. Now What?
You've ordered Starlink, waited for the kit to arrive, and now you're staring at a satellite dish, a mounting pole, and a bunch of cable. The instructions make it look simple: stick it somewhere with a clear view of the sky, plug it in, done.
And sure, you can do that. Plenty of people do. But there's a big difference between "it works" and "it works right." I've seen enough half-done Starlink setups around Radford and Christiansburg to know that most DIY installations leave performance and money on the table.
Here's why hiring a professional for your Starlink installation matters—and what you're risking if you don't.
The "Just Stick It in the Yard" Problem
Starlink's quick-start guide shows the dish sitting on the ground or on the included tripod. That's fine for testing. It's not fine for permanent use.
Here's what happens when you leave your Starlink dish in the yard:
- Obstructions you didn't account for. Trees grow. Branches sway. That "clear" spot in January might have obstructions by June. Starlink needs a wide view of the northern sky, and even small obstructions cause dropouts.
- Weather damage. Ground-level dishes get buried in snow, knocked over by wind, hit by lawn mowers, and chewed on by animals. I've personally seen a dish in Pulaski that got run over by a riding mower.
- Cable problems. The cable running across your yard is a tripping hazard and gets damaged by weather, UV exposure, and foot traffic. Starlink's cable isn't cheap to replace.
- No lightning protection. A dish sitting in an open field is a lightning magnet. Without proper grounding, you're risking your equipment and potentially your home's electrical system.
The ground mount works for temporary setups or RVs. For a home or business, it's the wrong move.
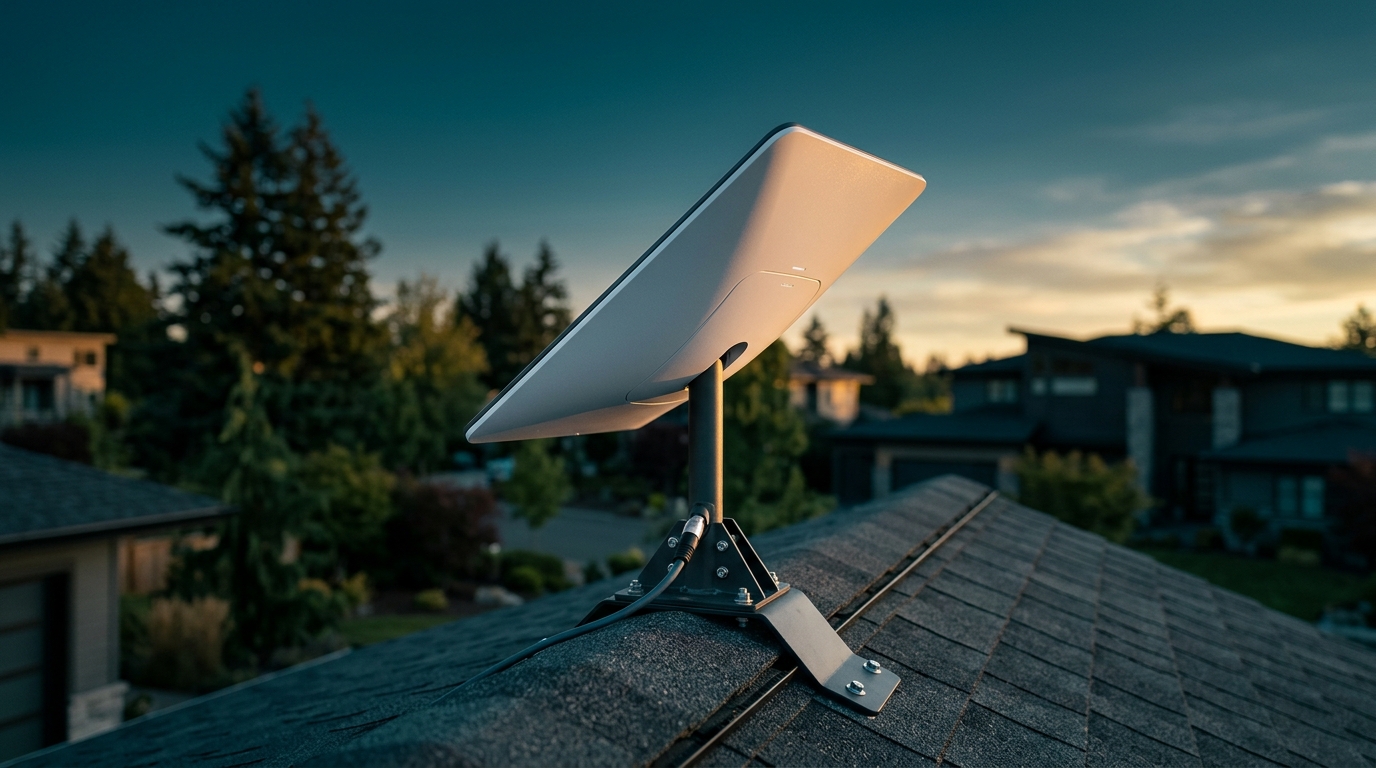
Why Roof Mounting Is Usually the Right Answer
A proper roof mount solves most of the problems with ground installations:
- Better line of sight. Height gets you above most obstructions—trees, buildings, hills. The higher the dish, the cleaner the view.
- Weather protection. A roof-mounted dish sheds snow better and isn't vulnerable to ground-level hazards.
- Professional cable routing. The cable enters your home through a proper penetration, sealed against water and pests, and routed through walls or conduit to your router location.
- Secure mounting. A properly installed roof mount isn't going anywhere. It's lag-bolted into rafters, flashed and sealed, and rated for high winds.
But here's the thing: roof mounting is where most DIYers get into trouble.
What Goes Wrong with DIY Roof Installs
I've been called out to fix plenty of DIY Starlink roof mounts around Roanoke and the New River Valley. Here are the most common mistakes:
Improper Flashing and Sealing
Drilling holes in your roof is serious business. Every penetration is a potential leak. I've seen:
- Mounts installed with no flashing at all—just lag bolts through shingles with a bead of caulk
- Wrong sealant used (silicone instead of roofing sealant, which doesn't bond to asphalt shingles)
- Flashing installed backwards or upside-down
- Penetrations made in valleys or other bad locations
A roof leak from a bad Starlink install can cost thousands in water damage. That's a lot more than the cost of professional installation.
Not Hitting Rafters
The mount needs to be lag-bolted into solid wood—rafters or blocking. I've seen mounts screwed into just sheathing, which will rip out in the first strong wind. Finding rafters isn't always straightforward, especially with older homes or metal roofs.
Poor Cable Management
The cable needs to get from the roof to your router. DIYers often:
- Drill through siding without sealing properly
- Run cable through vents or other inappropriate openings
- Leave cable exposed to UV and weather
- Create sharp bends that damage the cable
- Don't leave a drip loop, so water runs into the building
Professional cable routing uses proper wall penetrations, conduit where needed, and follows building codes.
Wrong Location
The Starlink app shows you obstructions, but it doesn't tell you:
- Where your rafters are
- Which part of your roof is easiest to access for future maintenance
- How to route cable to your desired router location
- Whether your roof pitch or material requires special mounting hardware
A professional installer considers all of this before drilling the first hole.
The Grounding and Surge Protection Issue
Starlink's dish doesn't have a built-in lightning arrestor. The official line is that it's designed to handle nearby strikes, but that's not the same as proper grounding.
A professional installation includes:
- Proper grounding of the mounting hardware
- Surge protection on the power supply
- Consideration of your home's existing grounding system
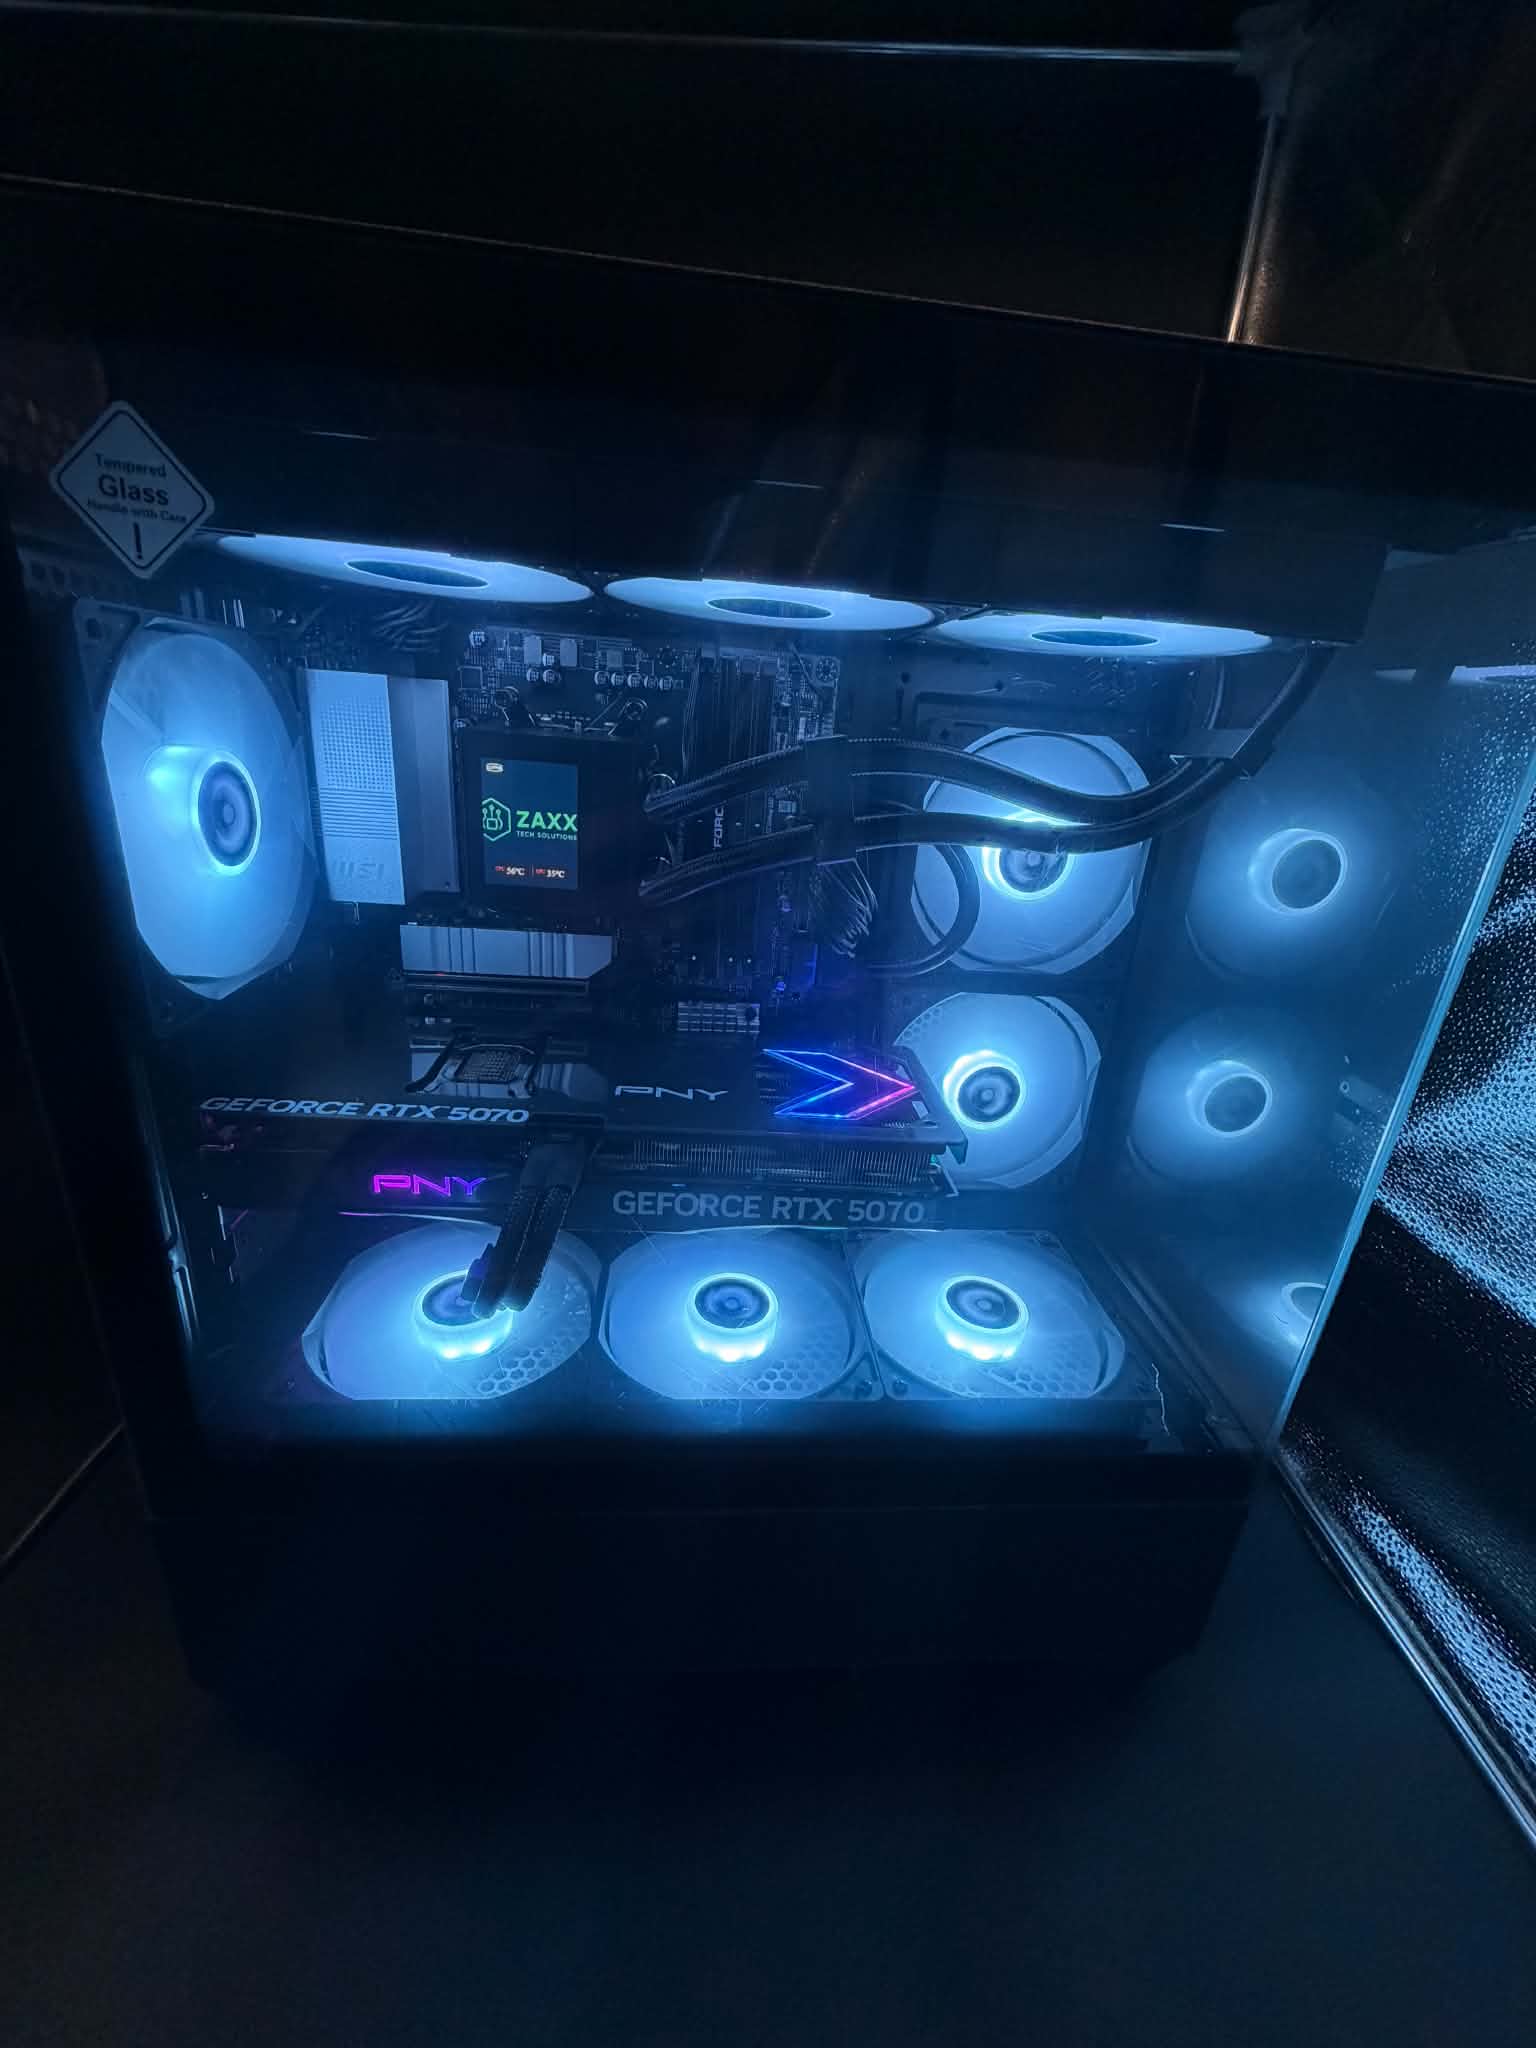
This isn't just about protecting the $600 dish. A lightning strike can fry your router, your custom PC, your home security system, and anything else plugged in. Proper grounding is cheap insurance.
What Professional Installation Actually Includes
When we do a Starlink installation, here's what you're paying for:
- Site survey. We check for obstructions, determine the best mounting location, and plan the cable route before touching a drill.
- Proper roof mounting. Lag bolts into rafters, professional flashing, proper sealant, and a mount that meets wind load requirements.
- Clean cable routing. Through-wall penetrations done right, sealed against weather, and routed to minimize cable length and visibility.
- Grounding and surge protection. Your equipment is protected against electrical issues.
- System testing. We verify you're getting the speeds and uptime you should be getting, and check for obstructions.
- Cleanup. We don't leave a mess on your roof or in your yard.
You get a system that works right from day one and keeps working.
When DIY Might Be Okay
Look, I'm not saying you can never install Starlink yourself. If you:
- Have experience with roof work and understand flashing and sealing
- Own the proper tools and safety equipment
- Have a simple installation (like a pole mount in an open area)
- Understand cable routing and grounding
Then sure, you might be fine doing it yourself.
But most people don't check all those boxes. And the cost of getting it wrong—roof leaks, damaged equipment, poor performance—is a lot higher than the cost of professional installation.
The Real Cost Comparison
DIY Starlink installation costs:
- Your time (4-8 hours if you know what you're doing, longer if you don't)
- Mounting hardware if you're not using the included tripod ($100-300)
- Tools you might not own (drill, bits, sealant, flashing, etc.)
- Risk of roof damage, equipment damage, or injury
- Potential need to redo it if you get it wrong
Professional installation costs a few hundred dollars and includes everything. You get it done right the first time, with no risk to your roof or your safety.
For most people, that's an easy call.
Starlink Installation Across the New River Valley
We install Starlink systems throughout Radford, Christiansburg, Pulaski, Roanoke, and the entire New River Valley region. Whether you're in town or out in the county where Starlink is your best internet option, we'll get your system installed right.
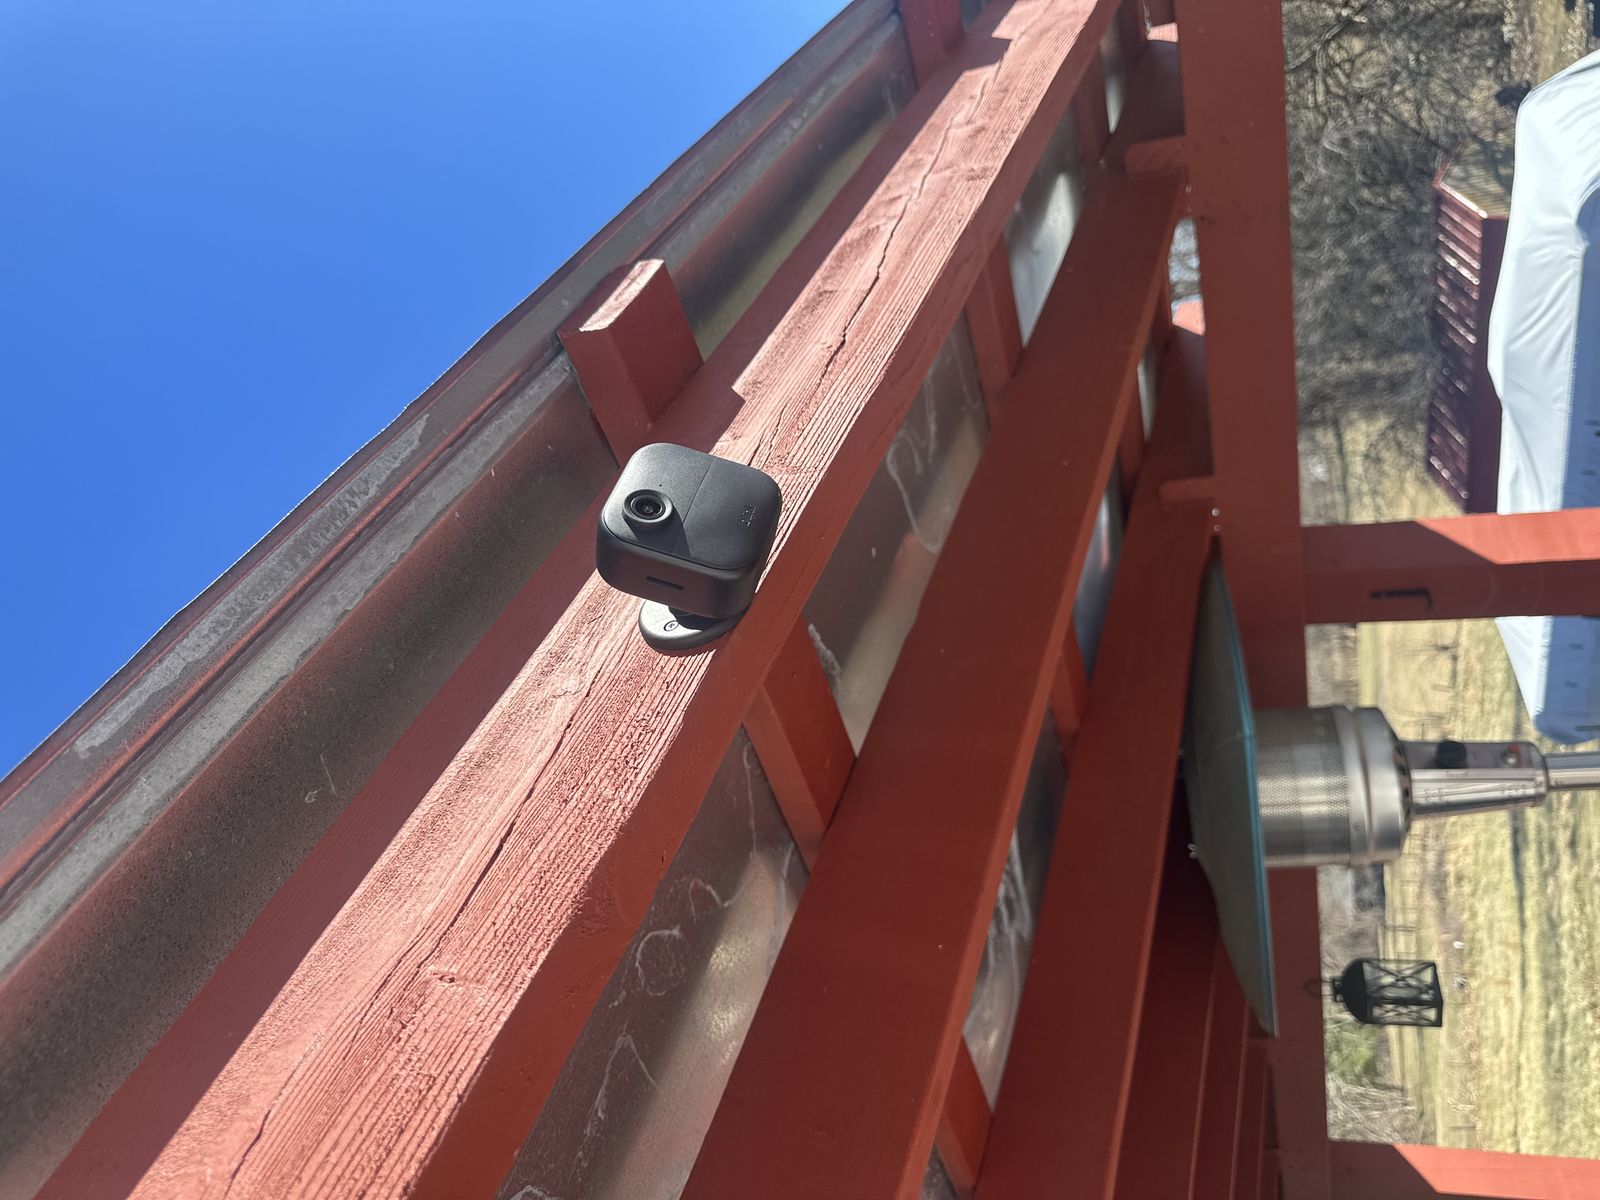
We're also licensed by the Virginia Department of Criminal Justice Services (DCJS #11-30241), so if you're adding Starlink to a property that also needs commercial security systems or other tech services, we can handle it all.
Get Your Starlink Installed Right
Starlink is great technology. It brings high-speed internet to places that never had good options before. But like any technology, it works best when it's installed properly.
If you've got a Starlink kit sitting in the box, or if you've already got one set up and you're not happy with the performance, give us a call at 540-440-1157 or email [email protected]. We'll get it mounted right, routed clean, and working the way it should.
No corporate runaround. Just solid work from someone who knows what he's doing. Get a free quote and let's get your internet sorted out.
Need help with your tech in Virginia?
Zaxx Tech Solutions handles security systems, custom PCs, websites, Starlink, and IT support — all locally, all licensed (DCJS #11-30241). Get a no-pressure quote today.