

Project
Starlink Gen 2 to Gen 3 Upgrade with New Mount
- Location
- New River Valley, VA
- Project type
- Residential
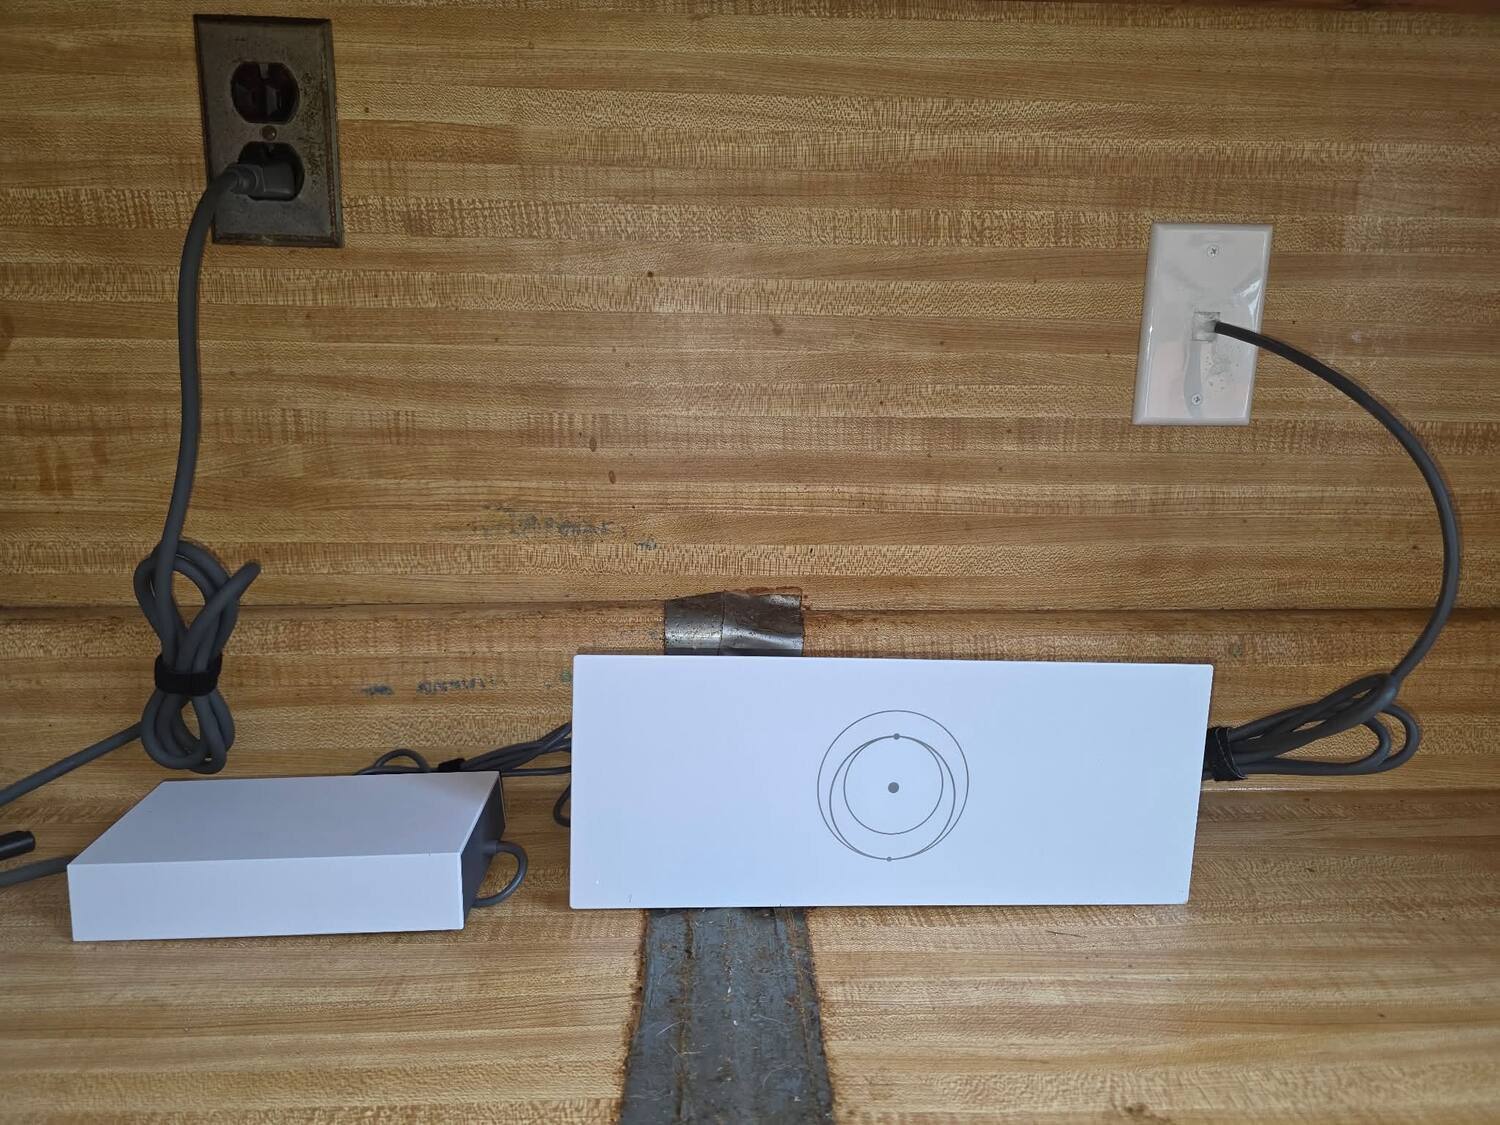
Removed an aging Starlink Gen 2 setup and installed the newer Gen 3 hardware on a fresh mount with clean, weatherproofed cabling.
The problem
What the customer needed
Upgrade a rural property from Starlink Gen 2 to Gen 3 hardware for better performance, with a secure mount and a tidy, weather-sealed cable run.
Challenges
- The original Gen 2 dish and cabling had to be removed cleanly
- The new Gen 3 dish needed a solid mount with a clear view of the sky
- The cable run into the home needed to be weatherproofed and kept tidy
The solution
Our approach
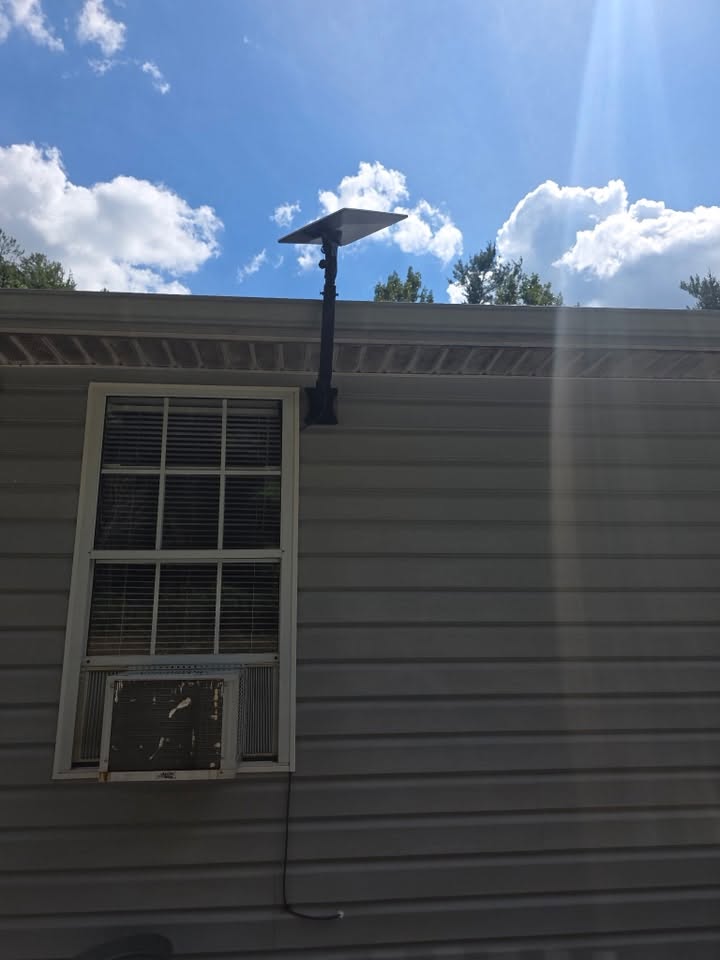
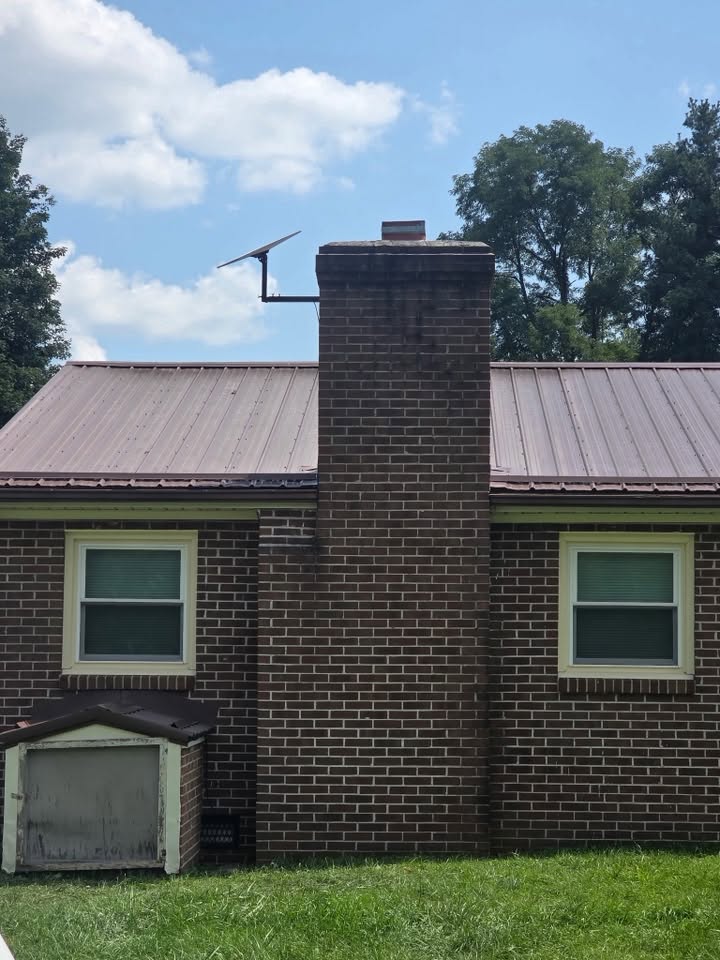
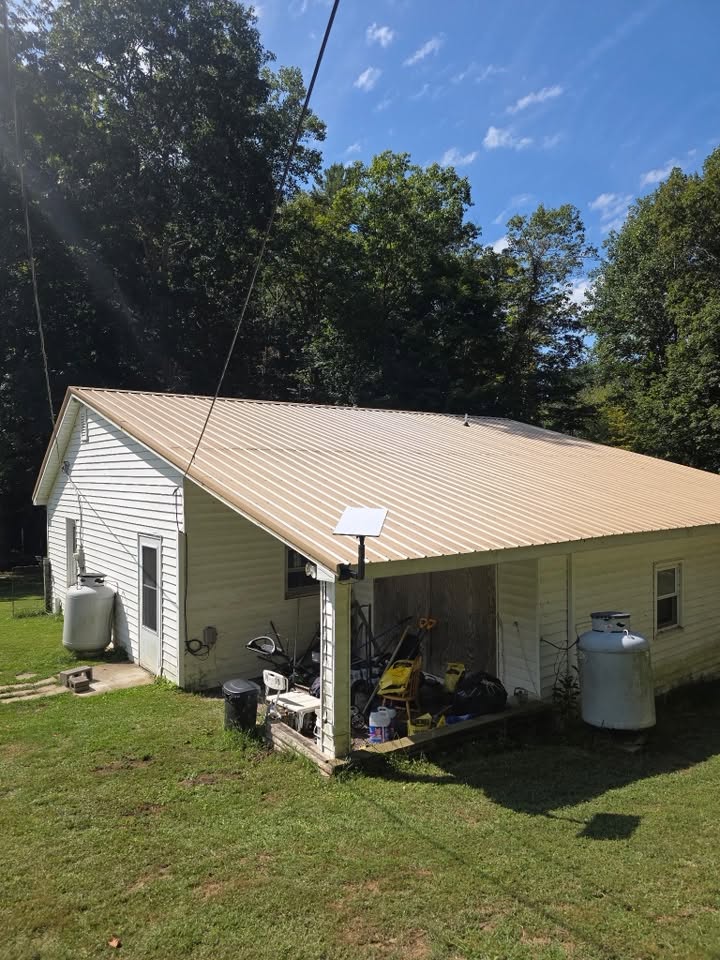
We took down the old Gen 2 setup, mounted the Gen 3 dish where it has an unobstructed view of the sky, routed the new cable cleanly with a weather-sealed entry, then configured and tested the system to confirm everything was working.
Work completed
- Removed the existing Starlink Gen 2 dish and hardware
- Installed the new Starlink Gen 3 dish on a secure mount
- Ran clean cabling and weatherproofed the entry point
- Set up the new equipment and tested the connection
Systems & equipment
- Starlink
- Gen 3 Upgrade
- Rural Internet
The result
The property was upgraded to current Starlink Gen 3 hardware on a solid mount with clean, weatherproofed cabling and a tested, working connection.
Project photos
Related services
Have a similar project in mind?
Tell us what you're trying to accomplish. We'll help you figure out the right approach.


